A new back wheel
A few weeks ago, my back wheel was stolen in front of where I work. In broad daylight. Bummer! I’ve grown lax in my locking up the back wheel, long ago leaving my cable lock at home and relying on a single kryptonite lock. Even when getting an ABUS folding lock, I’ve naively been locking just the front wheel and the frame together.
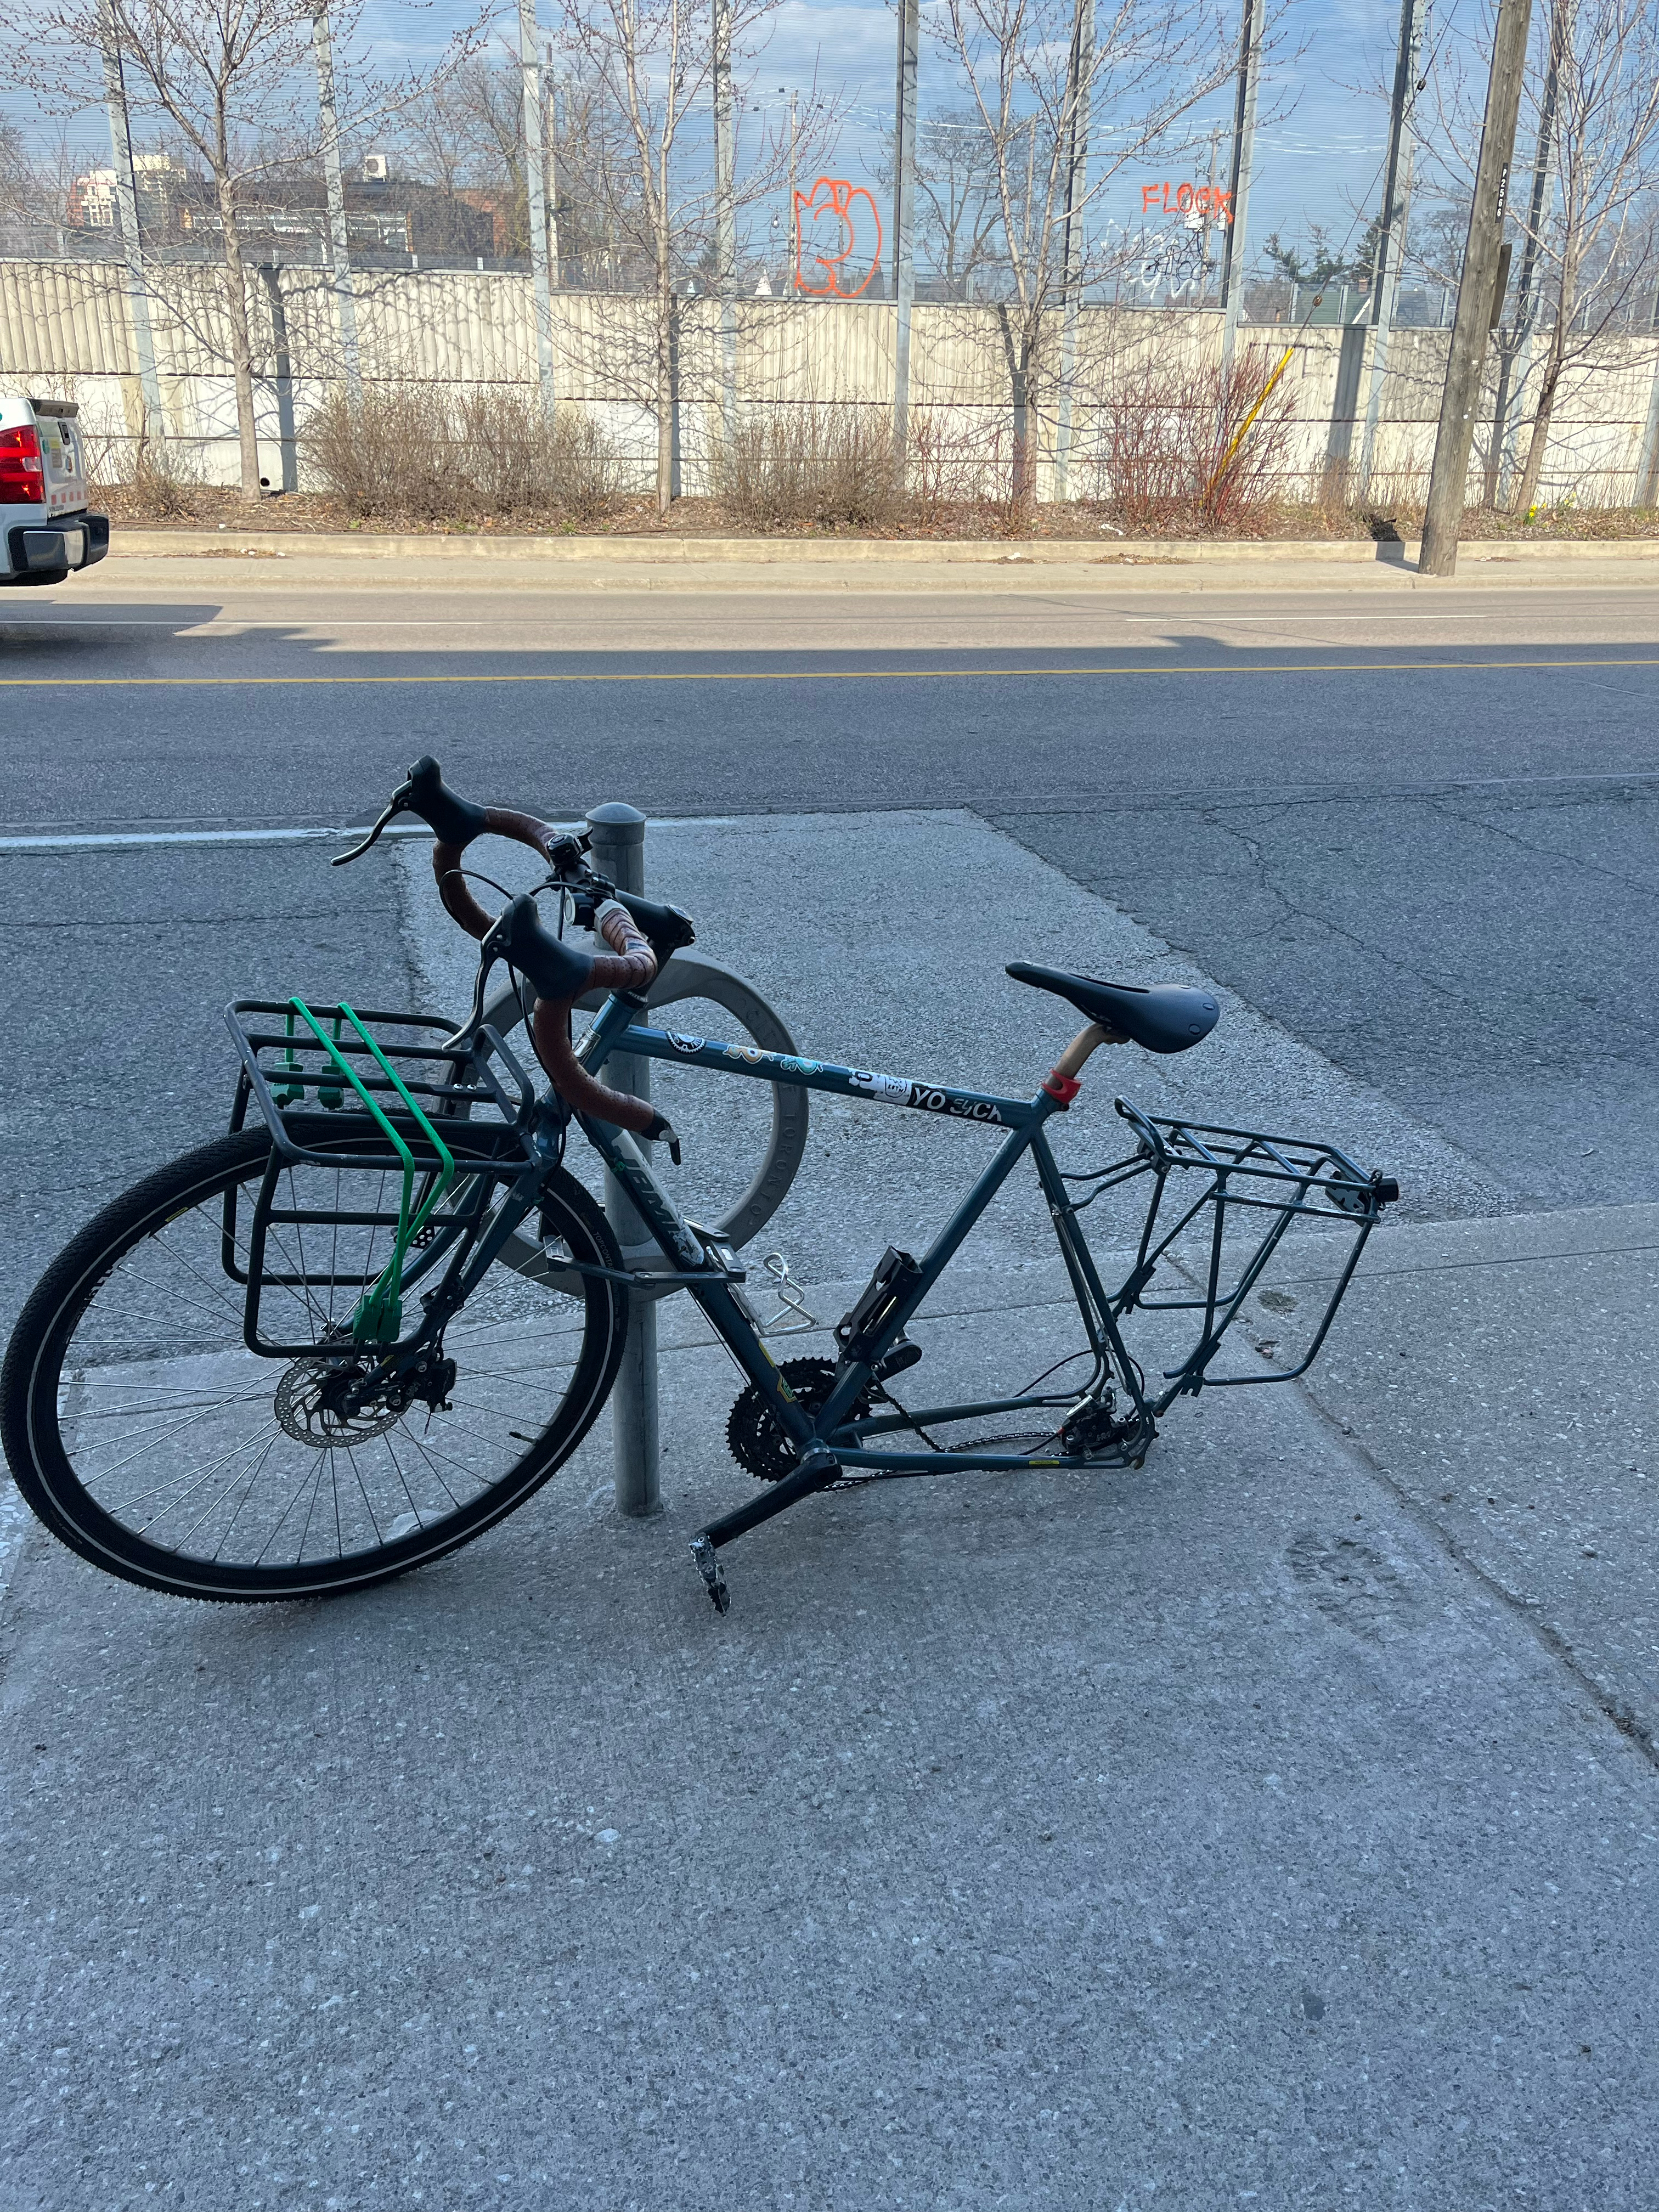
Yep, it was gone. Long gone. Some jerk stole my back wheel. After 10+ years of bike-as-my-main-transport, someone had jacked my stuff. Thankfully, it wasn’t the whole bike. I took it well. The glass is already broken, and all that good stuff.
So, down into the basement goes the bike while I started the process of sourcing parts.
- From Steph, I got a new rim and an axel (thanks Steph).
- From a shop, I got a cassette and a disc brake rotor (and learned about the differences between cassettes and freewheels, and disc rotors that are six-bolt design and center lock.)
- From Chad, I borrowed an FR-5 for mounting the cassette.
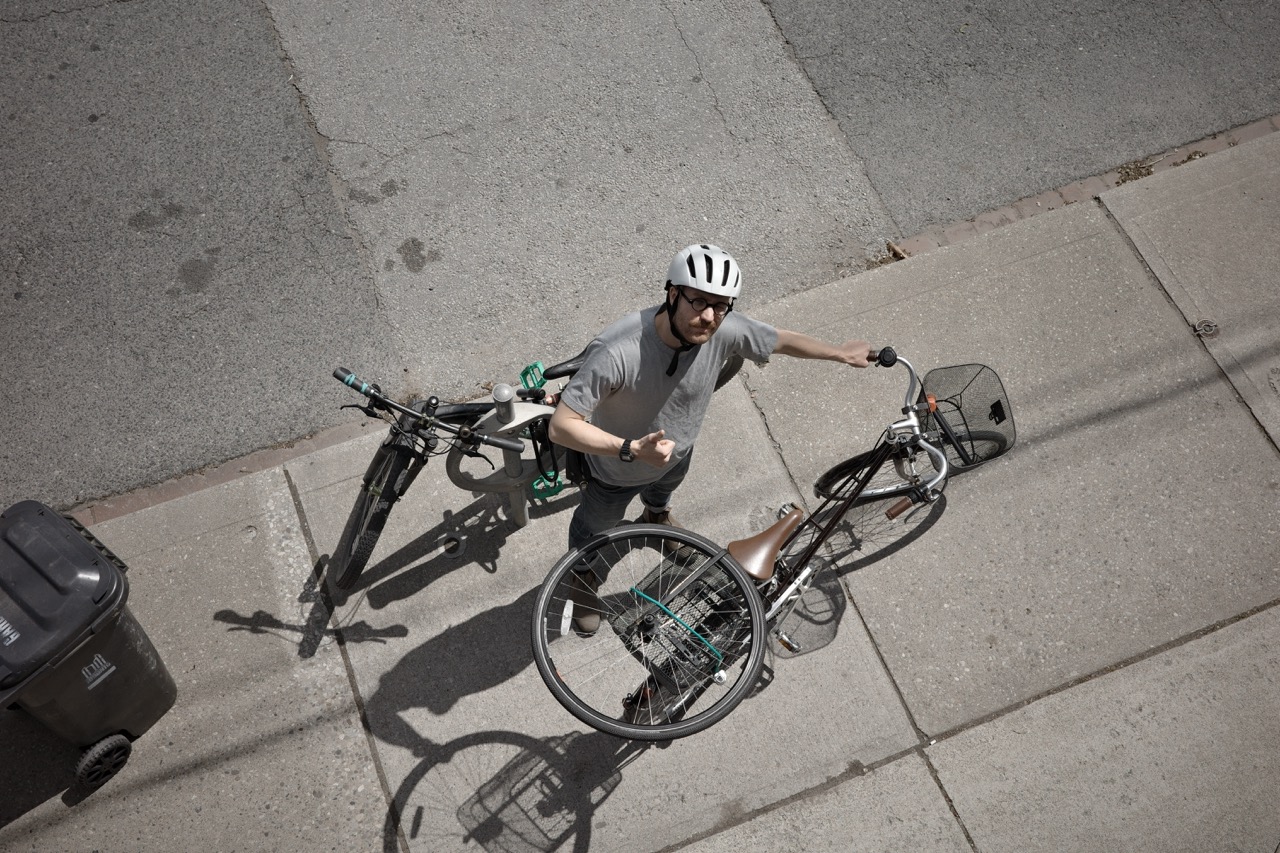
But it took a while before that happened. Life got busy, and it turns out, it’s a bit of a pain trying to replace and source parts when you can’t so easily take your bike with one wheel places. While time ticked away, I did take a few photos of my other bikes helping big bike. Nothing quite as satisfying as strapping new bike parts to other bikes.
Putting things together (sorta)
Getting the rim, tire, and tube into place was no trouble. When I finally got the cassette and disc rotor, I had already biked my tire back and forth on my city bike several times. This week I just sat down, watched some videos, and started putting things on.
By the time I got the cassette on, I realized I didn’t have my skewer with me. I just wanted to be done, so ready to give up, I went to rideaway bikes down the street and was prepared to hand them some money and just get them to do it. But, I stopped myself, and told the story of wanting to do it myself. They checked the integrity of the disc rotor, gave me a free axel, and sent me on my way. Consider visiting them over other certain bike-shops that shall go unnamed in town. They’re great.
I rode away feeling pretty good. Fixing bikes doesn’t seem like a big deal to some folks, but for me it’s always quite a struggle. Along the way though, I learned a few things: it’s super satisfying to strap a bike wheel to another bike and transport it around town, finding all the pieces you need to put things together, and reaching out to friends and your bike community for help when you are ready to give in.
More help
After a few days of riding on the bike, I noticed some major clunkiness. The chain would skip, and even while remaining on a single cog in the cassette, the whole thing would grind. I felt discouraged. After doing a delivery for The Bike Brigade, I headed over to Liberty Cyclery, a great shop near where I finished my delivery. I popped in and chatted and got some quick answers.
I learned that when you get a new cassette, you get a new chain. The two "mate" together. It’ll take a little while, but it’ll smoothen out. Then we talked disc rotors. I learned that I need to bed in the brakes—which means I need to get up to 25k or 30k/hr and slowly apply the brakes. Then repeat. Then repeat some more. This video provides a succinct, captioned description of how to go about it if you’re curious.
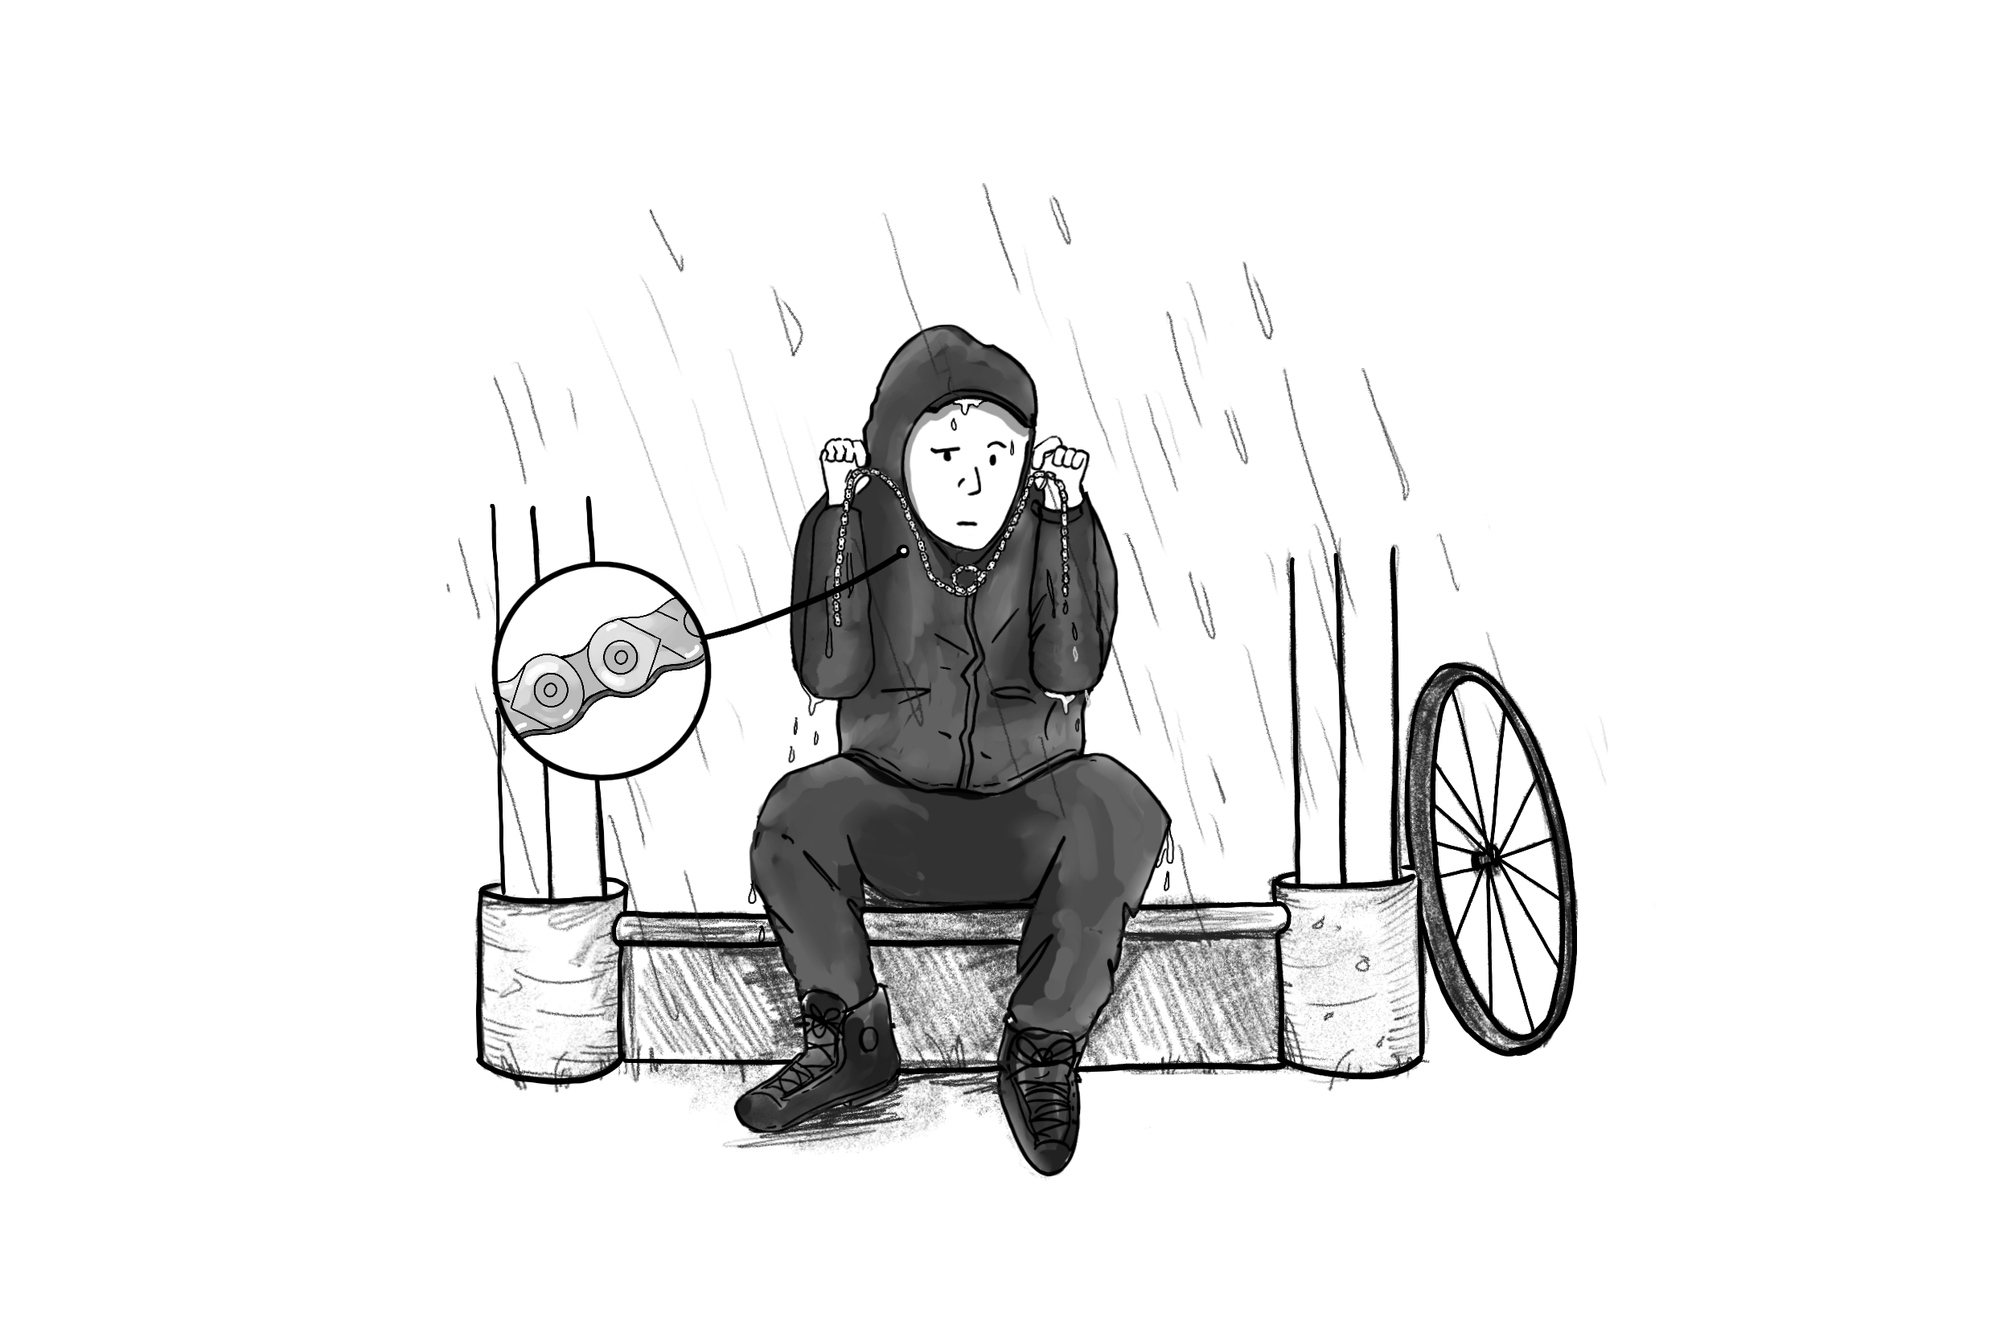
Changing Chains in the Rain
Today I set out to change my chain. I was determined to get it done today because I've got a ride (The bike for brain health) — and if I can't get the chain sorted out myself, then I would have to take it to a shop before then.
So, I watched this Park Tool video, made some notes, took my tools outside, and started working on the chain. Unfortunately, a downpour started at the same time, so I had to head back in and put on my rain jacket and rain pants. I looked quite the sight with my all black rain gear plus black nitrile gloves for doing maintenance work, and the rain just pouring off me.
I started by breaking my old chain, which happened to also break my chain breaking tool. So, I must have done something wrong.

Thankfully, the chain I got from my LBS was the same length as my existing chain —so no need to break any links off it. After that, it was a matter of threading the chain through the derailleur. This was a bit confusing with the bike turned upside-down, so I righted it, and set it to rest on my toolbox as a makeshift stand. I watched the video a few more times and set up the chain. Adding the master link was no problem and once it was clicked in, I re-flipped the bike upside-down and tested the gears. The front derailleur seemed a bit bent, so I manually adjusted it (which was maybe a bad idea), and then tested the shifting.
Everything worked…but there is still some jumpiness, and the bending of my derailleur to "fix it" now means that shifting into the smallest front gear is harder. Whoops.
Anyway, I got on the road and the chain immediately felt a lot better than what I had on before. I hopefully can tinker with the limit screws to fix any remaining shifting issues.
My "can do" attitude-muscle is growing (as mentioned in the park-tool video) which I’m super pleased about. The trick is just breaking up tasks. When you get frustrated, you just need to learn to take breaks. Speaking of… next up — replacing brake pads. I might not get this done before the ride on the weekend, but it should happen soon.
Wrapping up
What a saga. It may be boring to read, but this was such a long haul. It took over a month to get everything back together. It helps having other bikes, but I definitely missed my little destroyer.