Christmas linos 2023
About halfway through November, I decided I wanted to do a series of linocuts for Christmas prints to give to people. I’m hoping to depict a series of bullshit or troublesome events that people in my life had to put up with. Maybe I’ll title the collection Perseverance, or something less serious (Sweating the small stuff ?)
Nov 15
I began with the stubbed toe print. I started off with a few sketches that tried to capture the gist of it.

Things started off slowly. I had bought a sheet of Lino while in Japan and decided to use it. It was extremely stiff, so I researched ways to make it a bit more flexible and easy to cut. This involved me putting it in the microwave, although I quickly lost my nerve with that, and then I tried using a hair dryer to soften up the lino. This worked pretty well. And I got to cutting. Here are some progress pics.

With creative sessions like these, I'm trying to push myself to listen to new music. So, I decided to pick Joy Division's album, the one with the cover that I often see on people's t-shirts. To be honest, I wasn't crazy about it, but I'm finally glad to know what the actual sound of the band is. I did enjoy the bass lines of the album, but there were a couple of songs that dragged on a bit too much for my tastes. Then I moved on to listening to Homework by Daft Punk. It turned out to be the perfect album for the right state of mind I was in. I was able to sort of enter a trance, and I enjoyed the repetitiveness of the album. There were only one or two songs that didn't quite work for me, but the rest of them were excellent.
About halfway through the first hour, I bent the speedball cutter and lodged the bit into it. This made me a little scared and I thought surely this will be the time that I cut my finger on one of these blades. That meant it was time for a break.
I was surprised by how quickly I was able to work. I could do a test print about halfway through, and I remember feeling a bit nervous about it for some reason or other. The truth about Linocut is that you can do test prints as you go and then wash off the ink, and then, depending on how it looks, keep going. The only danger is in cutting too much.
Nov 18
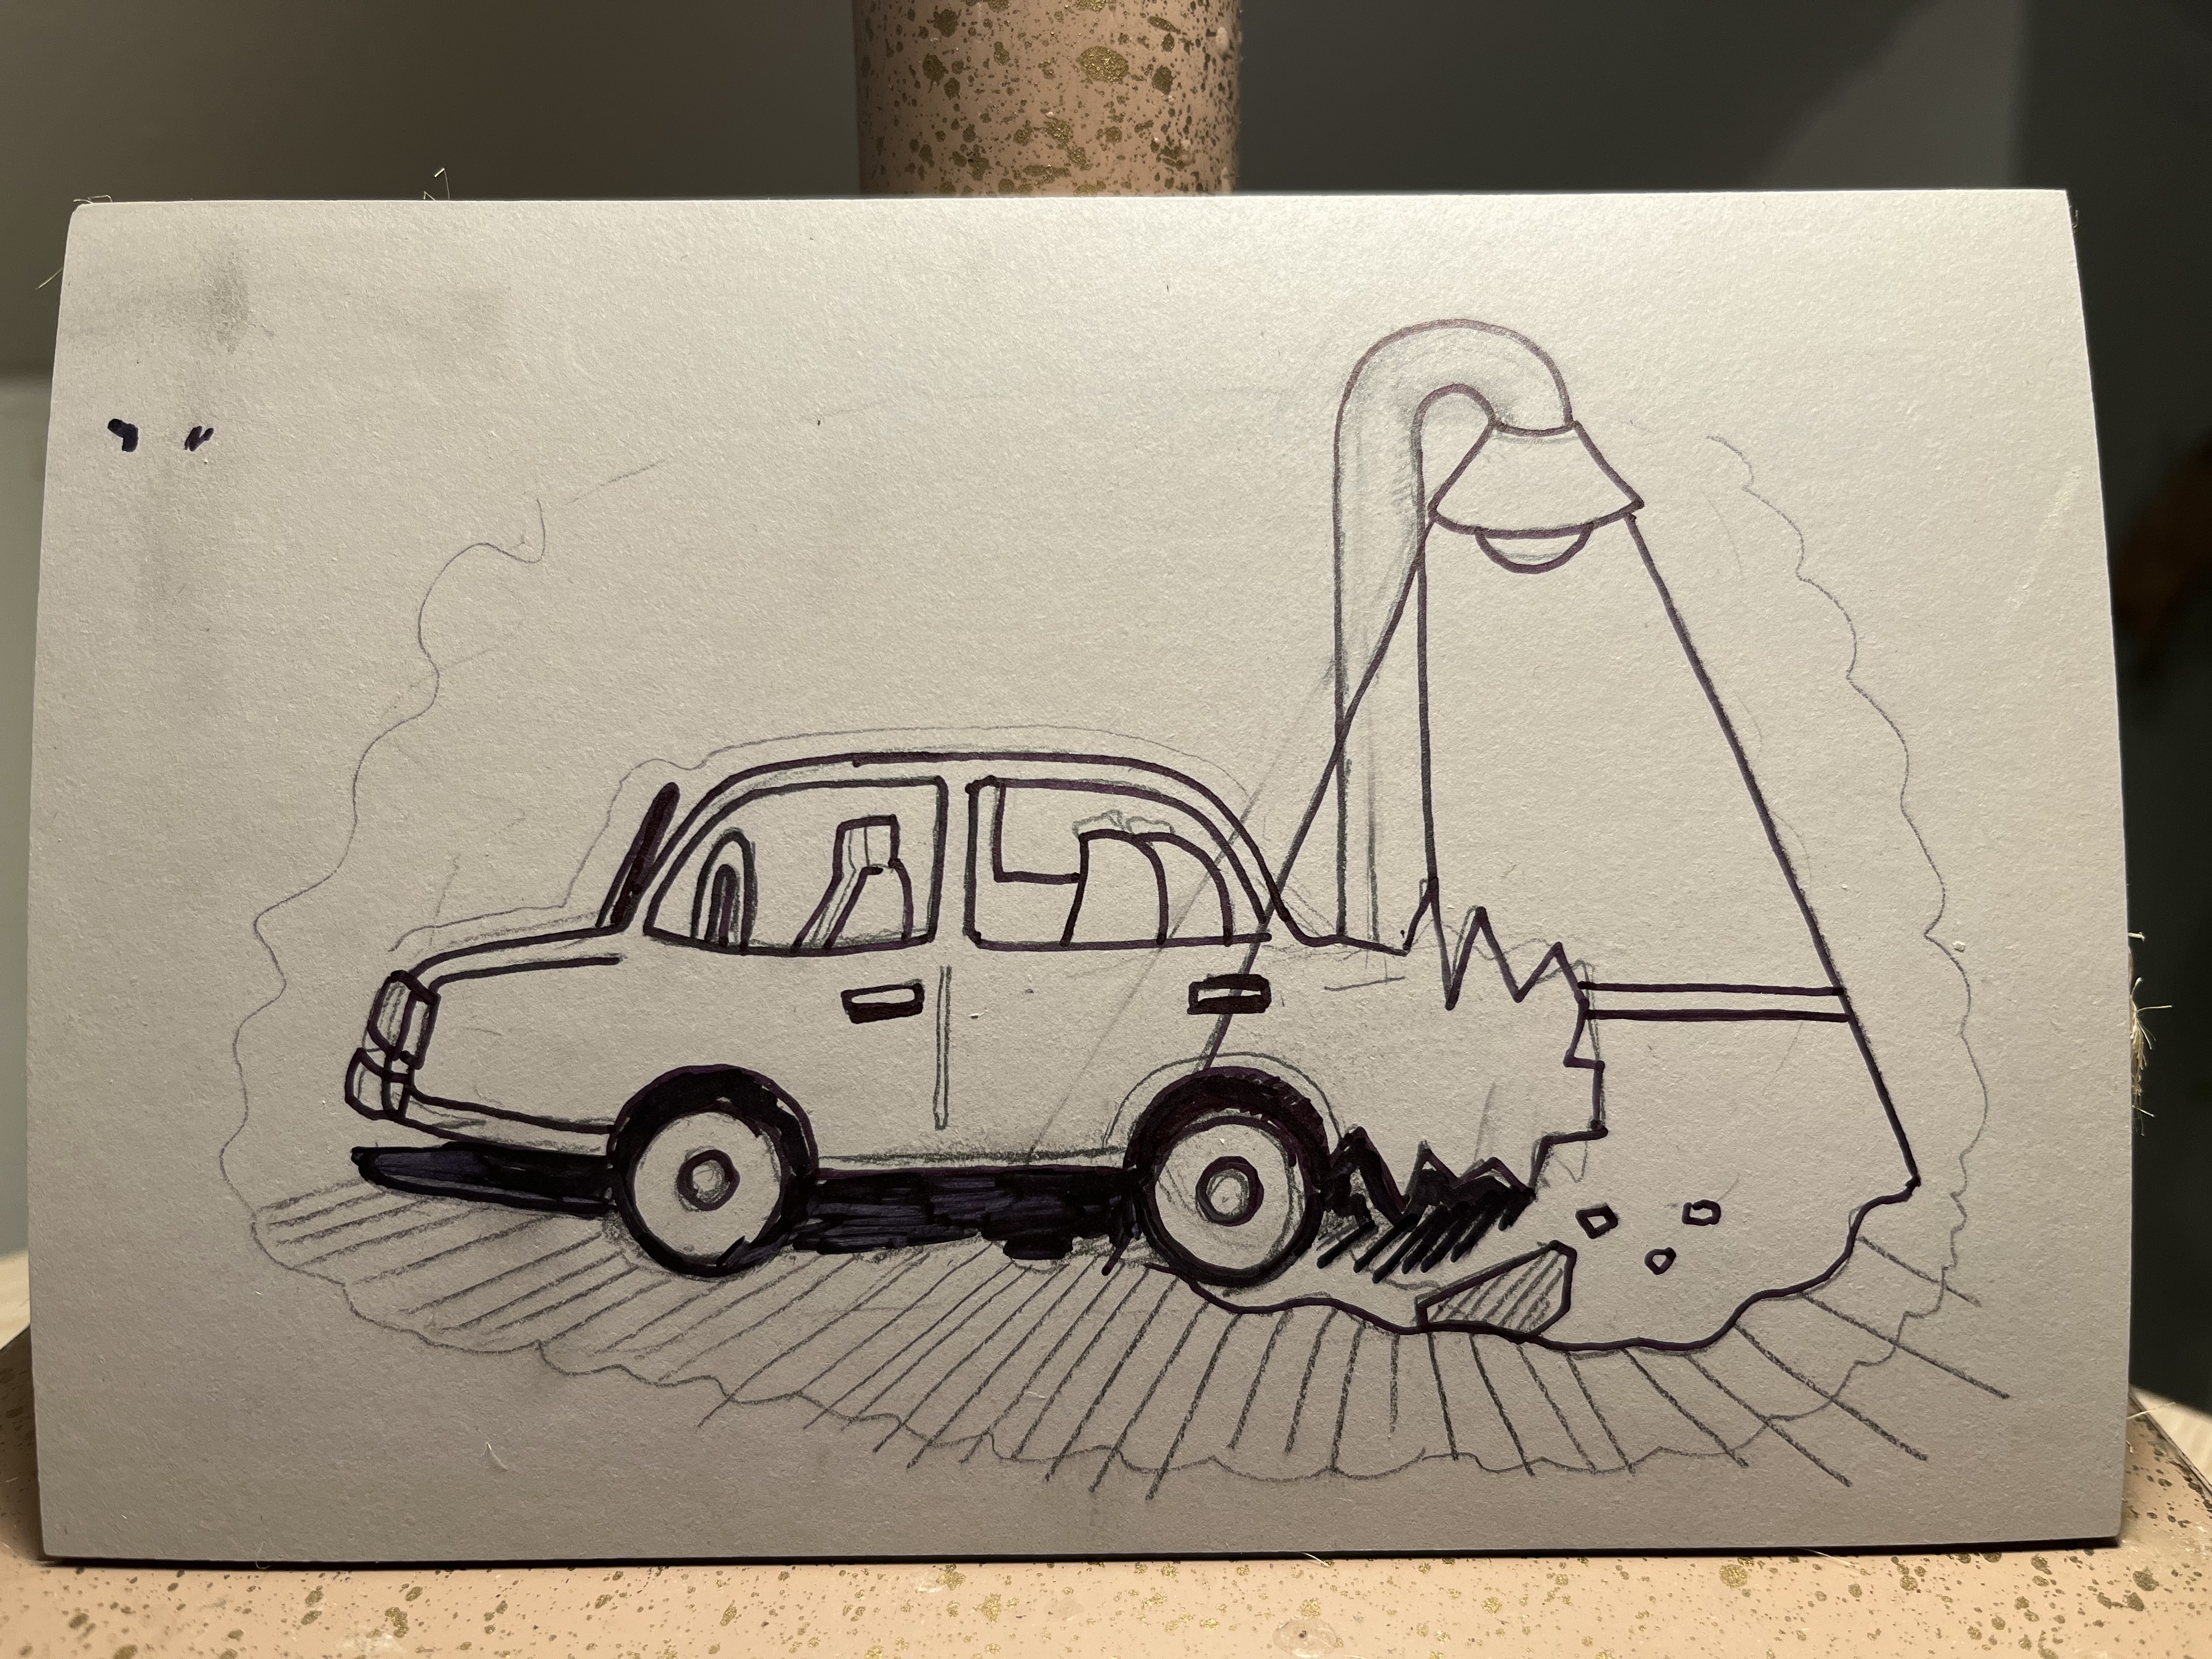
I began on a new print today, trying to capture something based on this sketch here:

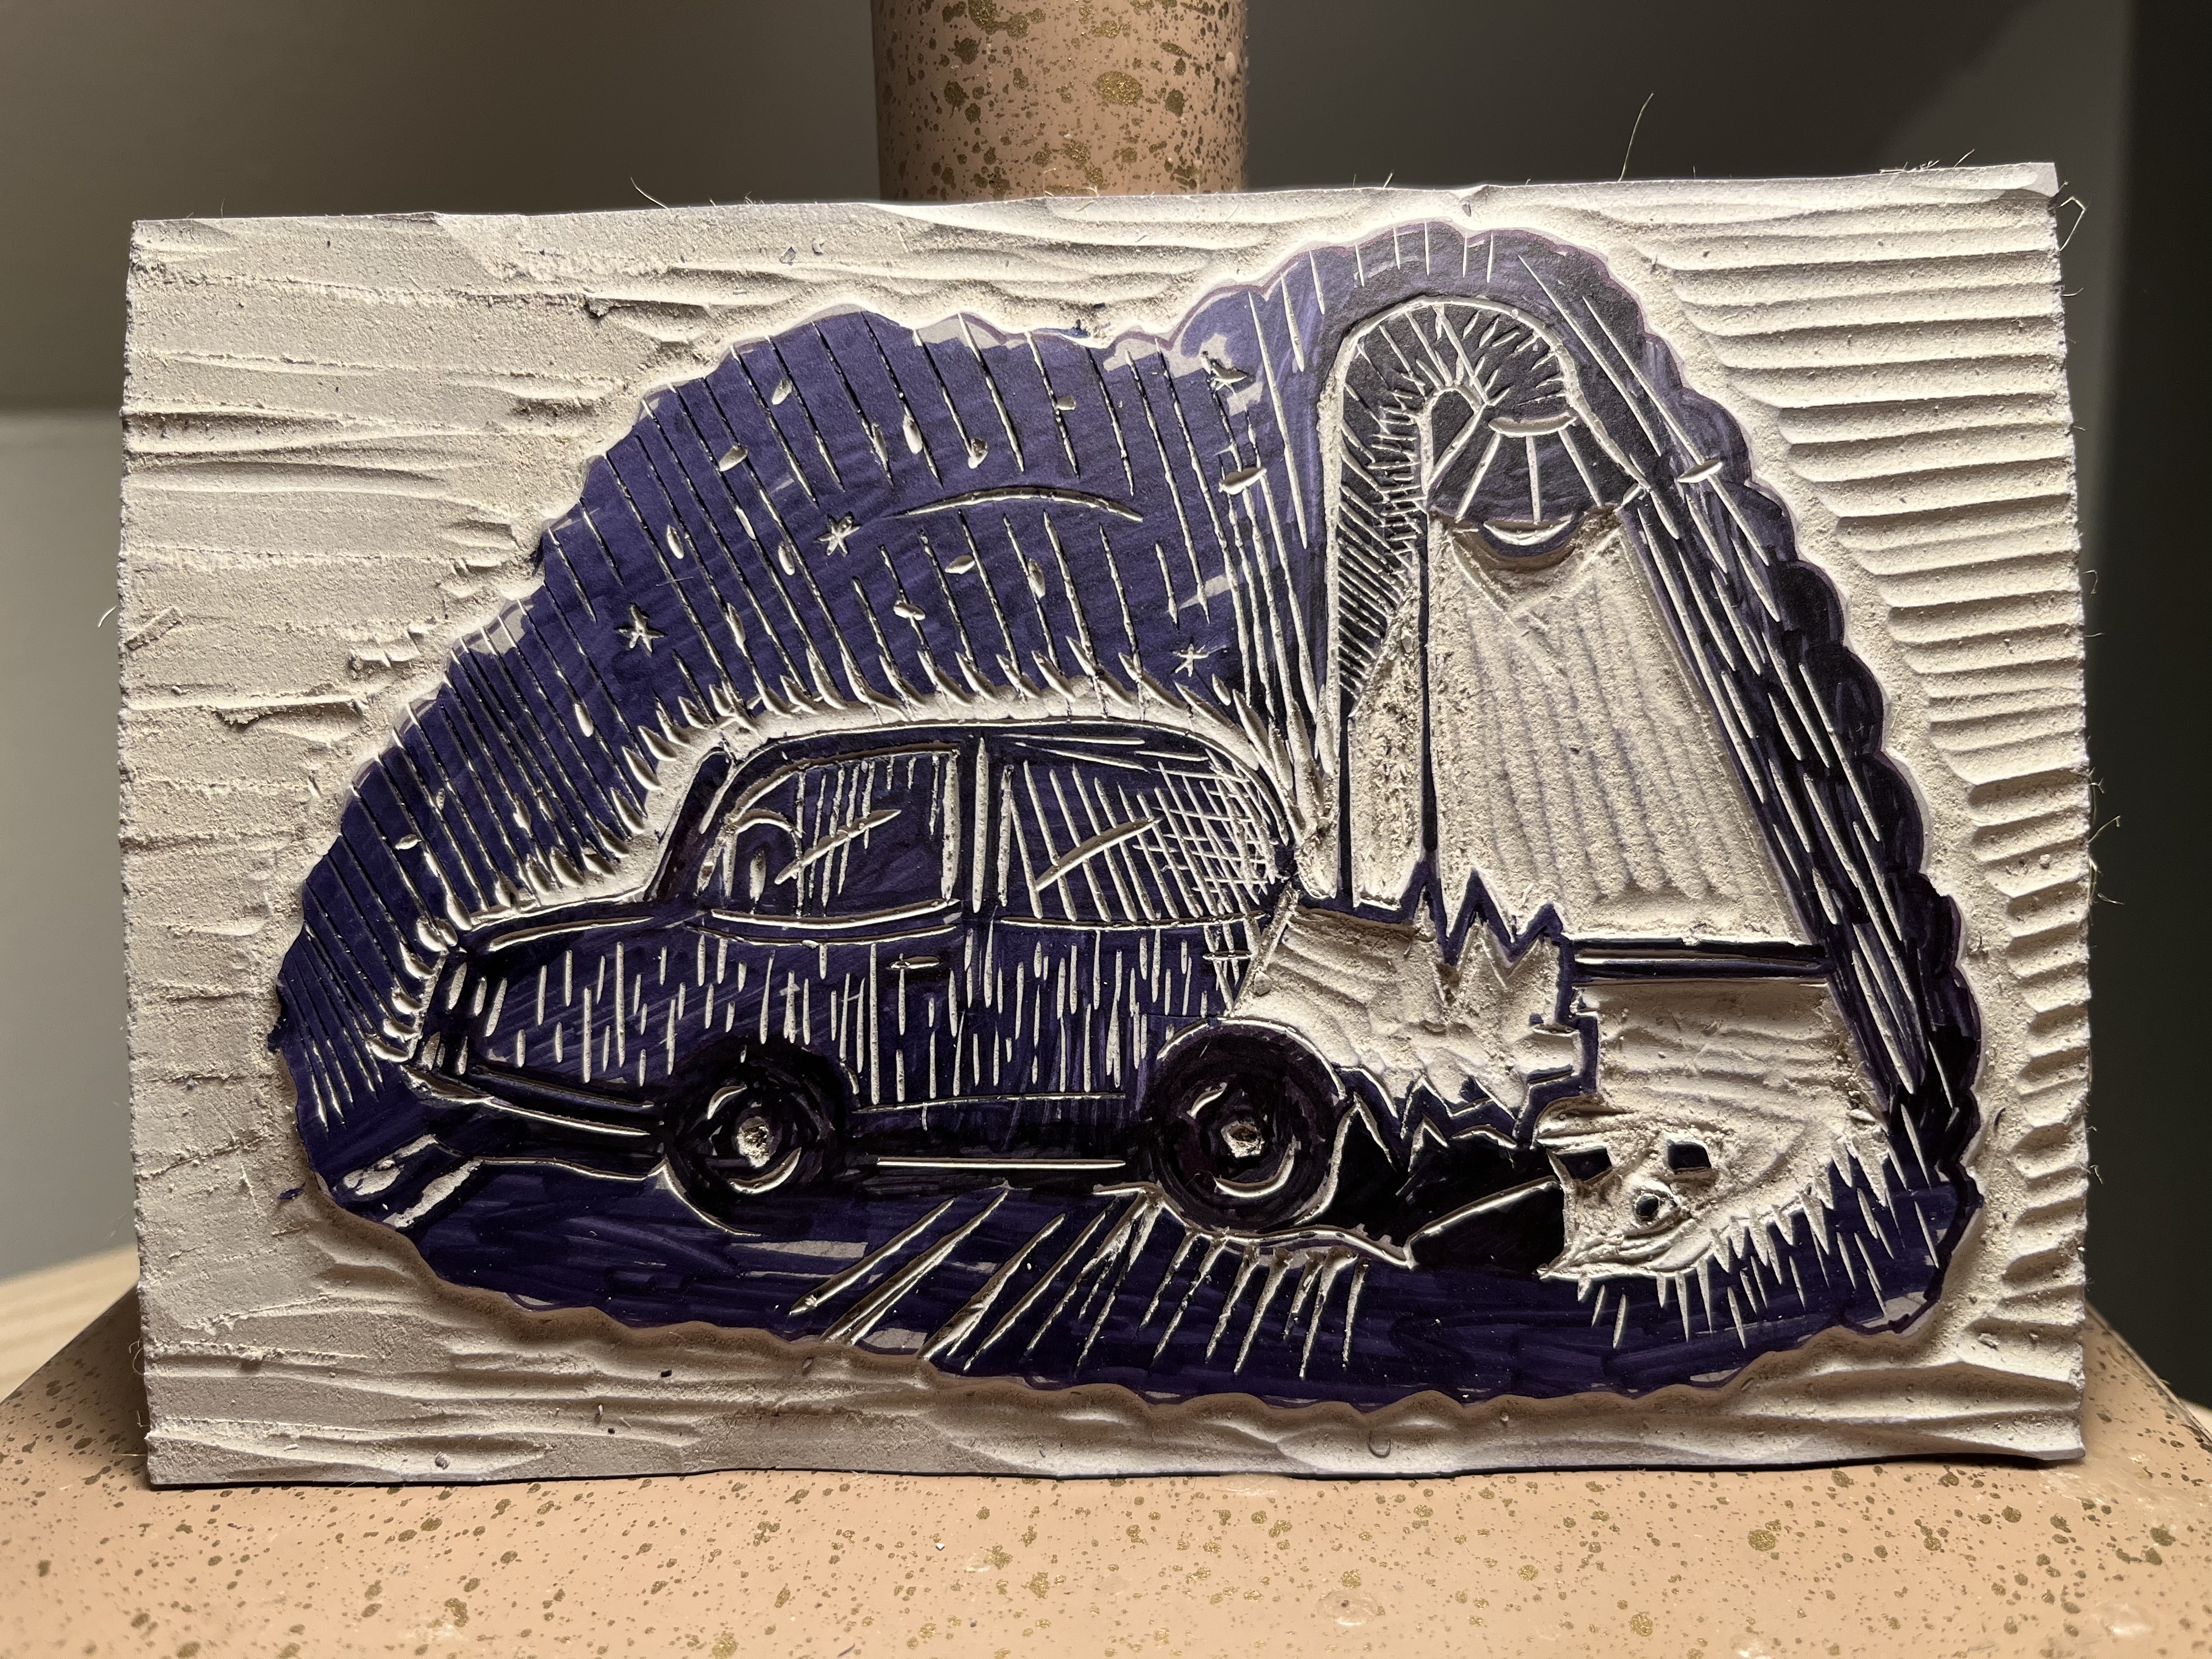
I picked up some grey battleship linocut, as it seems to be called, and decided to use it for this attempt.
It turns out that it's actually very delightful to carve this type of lino block, and while it's inflexible, the ease of flicking off pieces or just pushing the knife through it is far superior to the green one I used on the previous print.
However, this print is turning out quite difficult. I managed to at least remember that I needed to invert the image, and there is also a lot of black background image. So I'm a bit out of my wheelhouse with trying to figure out how to show dimly lit objects.
November 20
Just did the first test print of Hit and Run. It went okay. This is my first experience using "Battleship Grey" Lino. It's a pleasure to carve, but when you wash it after doing a few prints, it really bends. The back of the battleship grey lino seems to be some sort of canvasy-twine—perhaps to make it as non-slip as possible while carving. With that said, it's not very pleasant while it's wet and might be contributing to the bending of it as it dries.

December 6
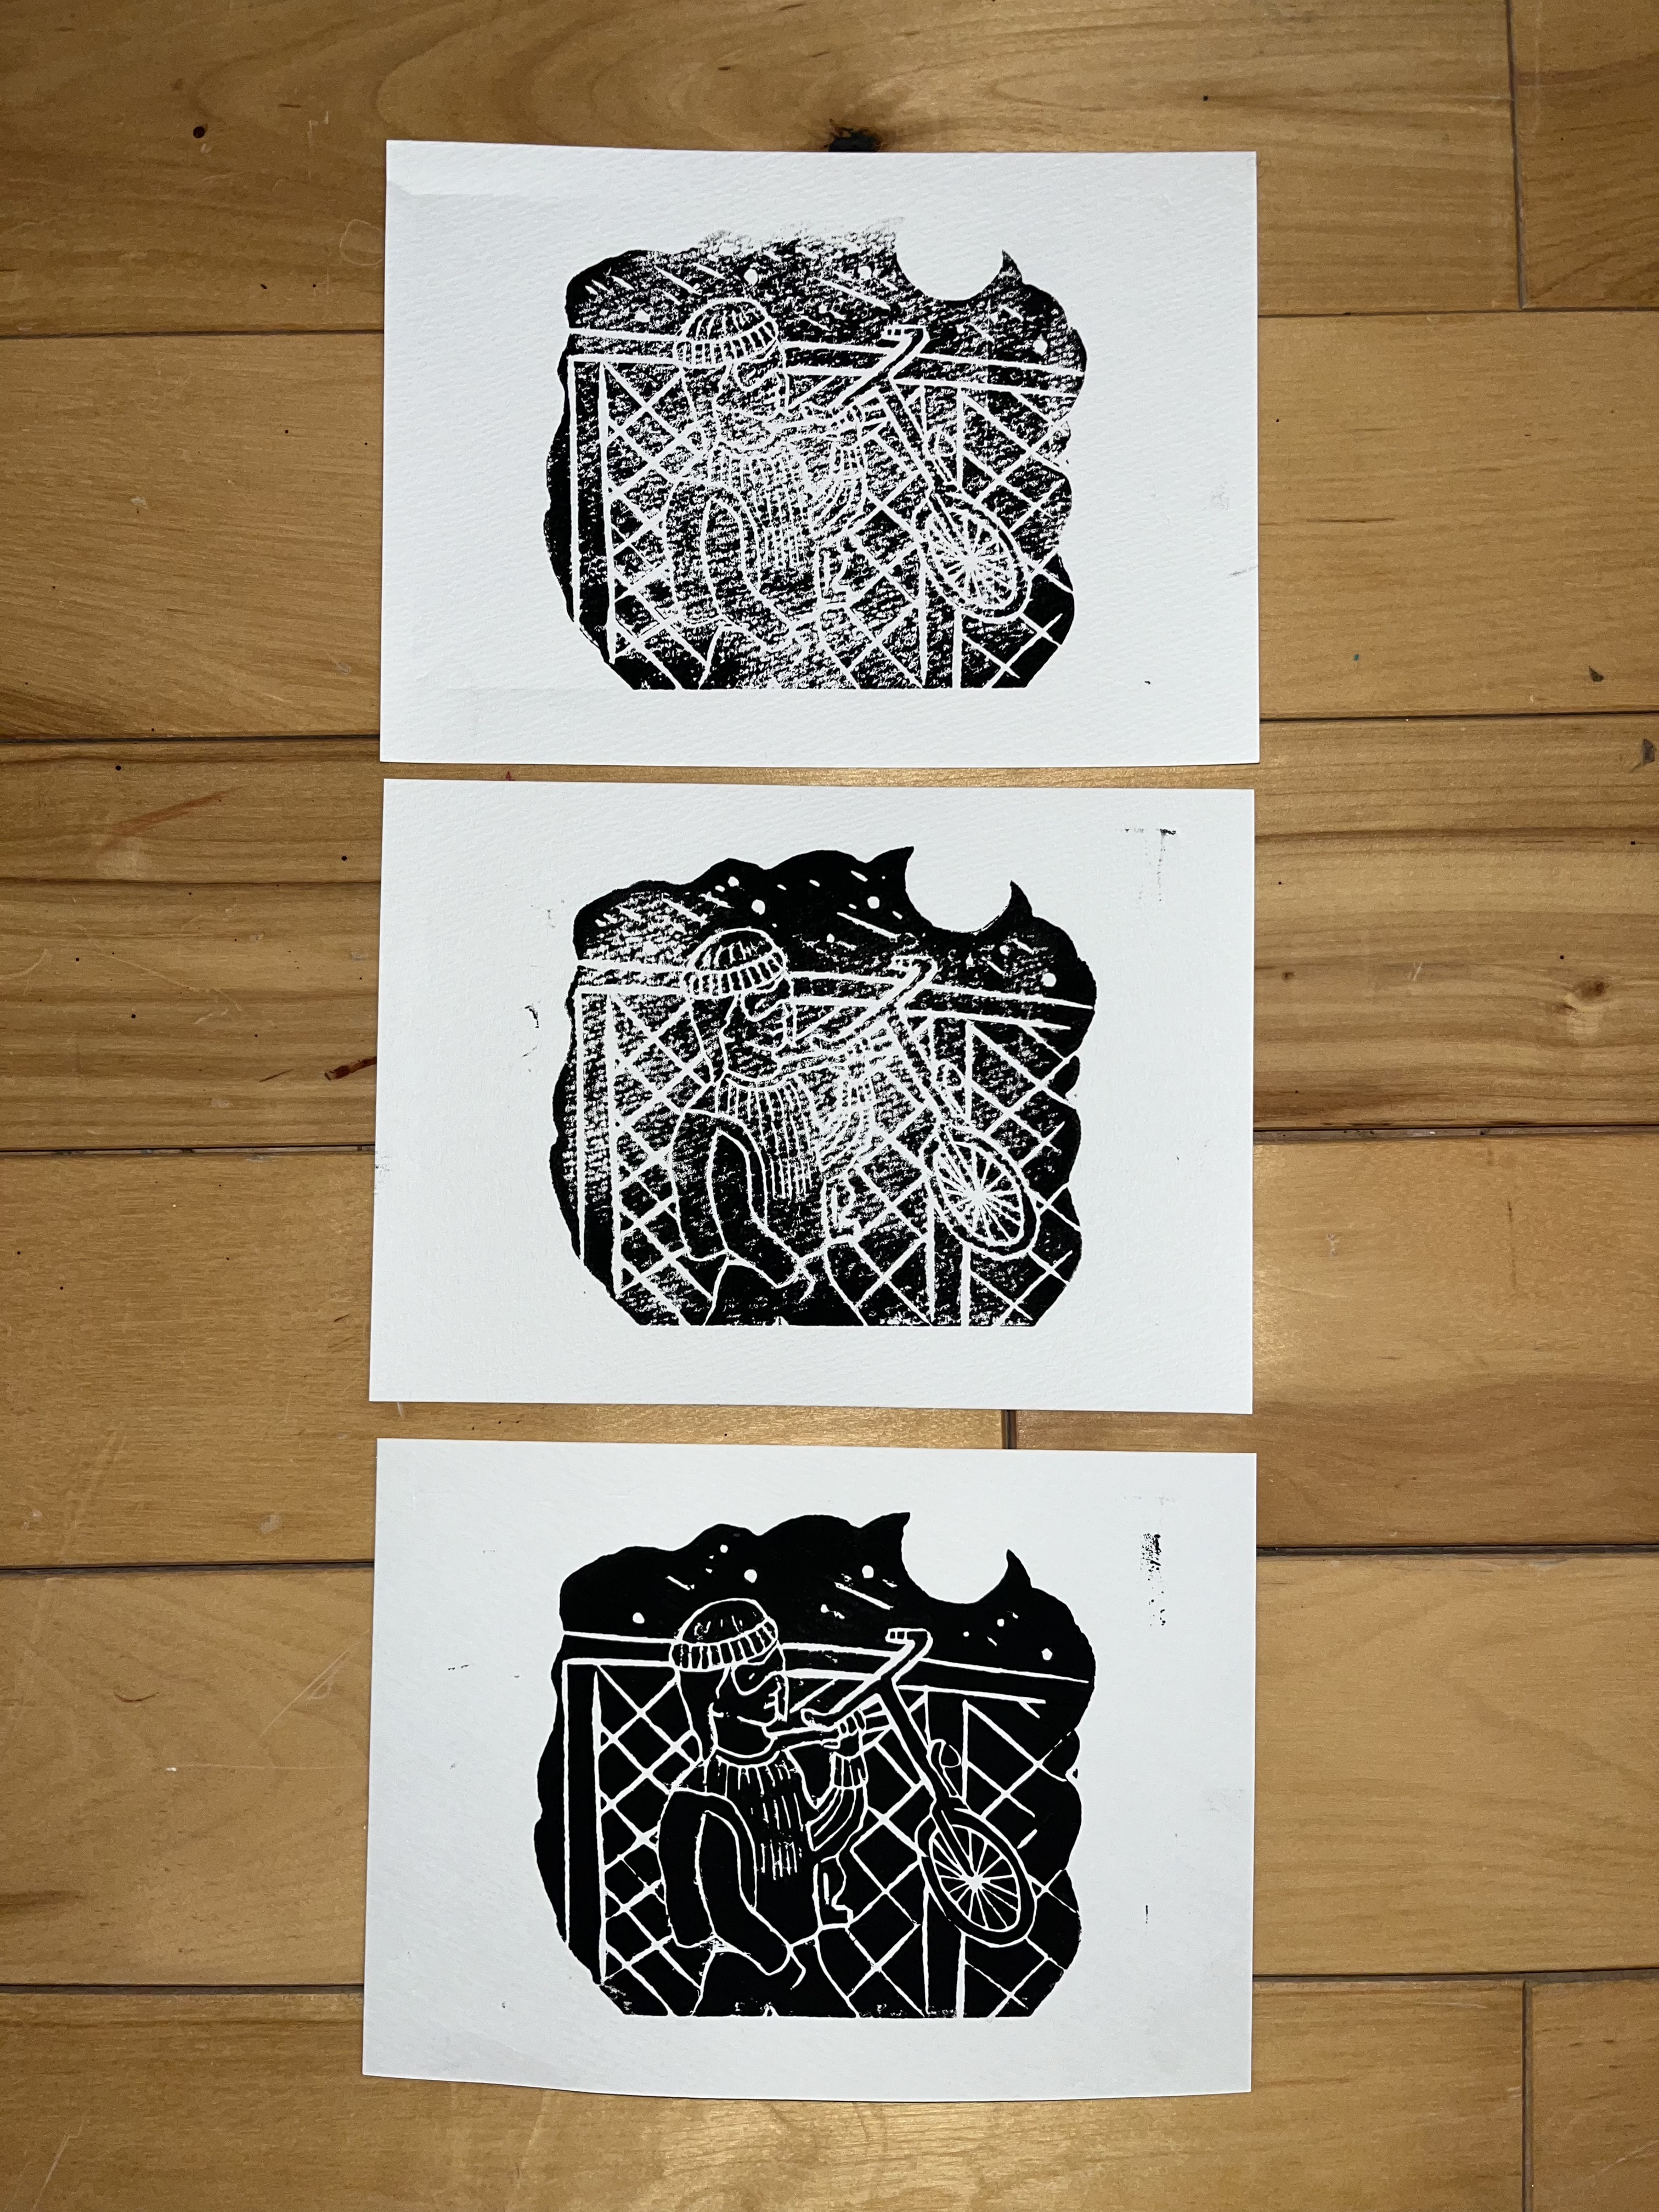
It’s been a while since I’ve worked on this project. I’m back now, though. Tonight I did three test prints for the third piece in this set of prints. This one is called Bike Thief for now, until I come up with something more clever. The first two prints were duds; I realized that I needed to really lay on the ink, which meant more lines were filled in when they shouldn’t be. Still, I actually like the result of the third print.

I did some research tonight as well and learned that you can easily clean your linocut blocks with a rag and some dish soap and warm water. Much better than running it under the tap, which was resulting in the whole thing bending and warping as it dried.
While working on the print for the opening of BORT, I also learned that you can use diluted india ink to darken the block such that carving after will more starkly reveal the relief (am I using that word correctly, relief?)
I’ve got two entire blocks still to carve and then I need to actually print them on proper paper.
December 19
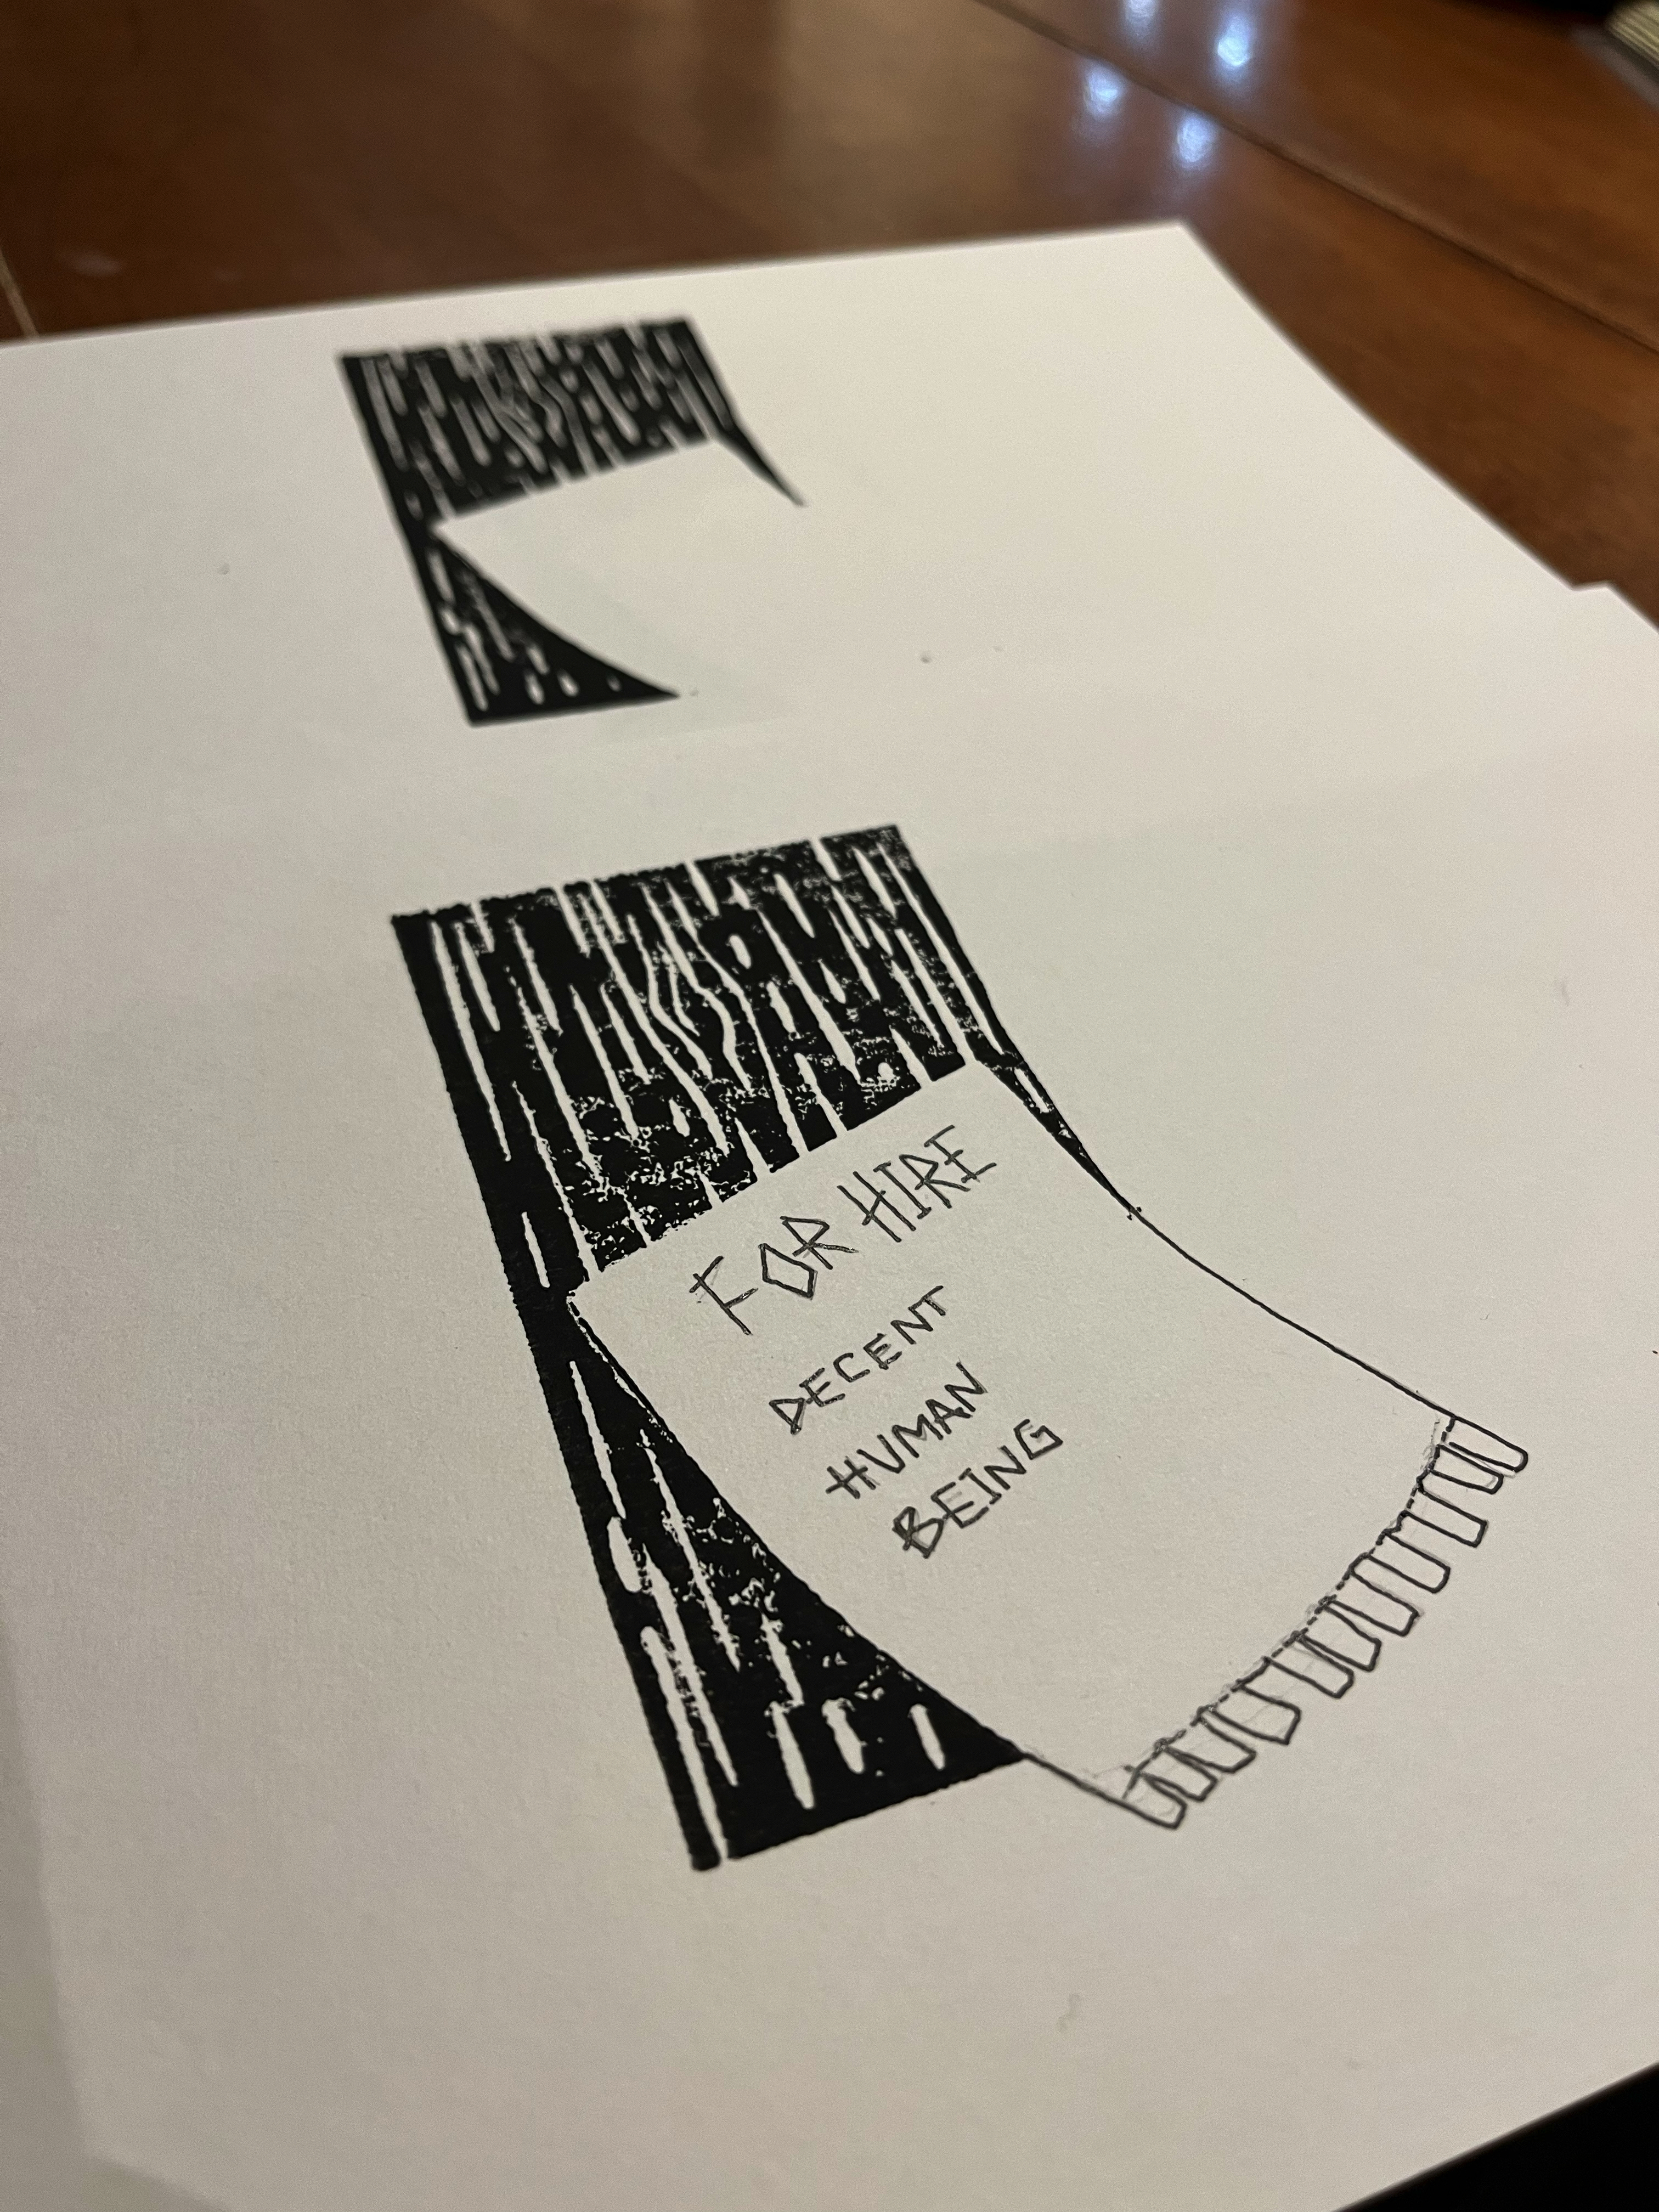
It’s been a minute. I’ve got most of my prints done, and they’re waiting around for finalizing. I started up a new one: For Hire and it’s looking ok. I’m going to have to draw out a missing piece of the relief—the paper tacked to the post in the image was too fine a line to do with lino.

Dec 22
Wrapping up, I did a few more test prints on different kinds of paper. The prints looked good, but I didn’t really want to give just prints—especially if it makes people feel like they had to baby it. A few months ago, my friend Ben was telling me about a way to make your own stickers using clear tape. I bought some clear gorilla tape and gave it a try.

This worked ok — the prints all required at least two strips of tape and so you can see where the tape lines up. But for smaller prints that I wanted to treat as a sticker, I think this would work great with smaller prints so it could fit under a single strip of tape.
Wrapping up
I'm pretty happy with the results of this project. I'm not sure what I would change! Doing linocut is still fairly new to me and so I think I just need to keep doing it to get better and to enjoy the process!